Introduction
Innomesh can push critical alert notifications to Microsoft Teams using Power Automate Workflows, enabling operational users to receive real-time notifications when issues occur. This guide outlines the client-side setup required for Innomate to enable this feature.
Setup Steps
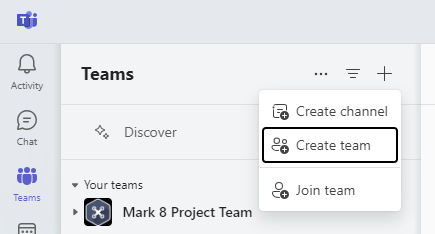
Step 1: Create a Dedicated Teams Channel
Create a new Team dedicated to Innomesh notifications, or identify an existing Team where notifications should be sent.
To create a new Team, click the + icon next to the Teams header and select Create team.
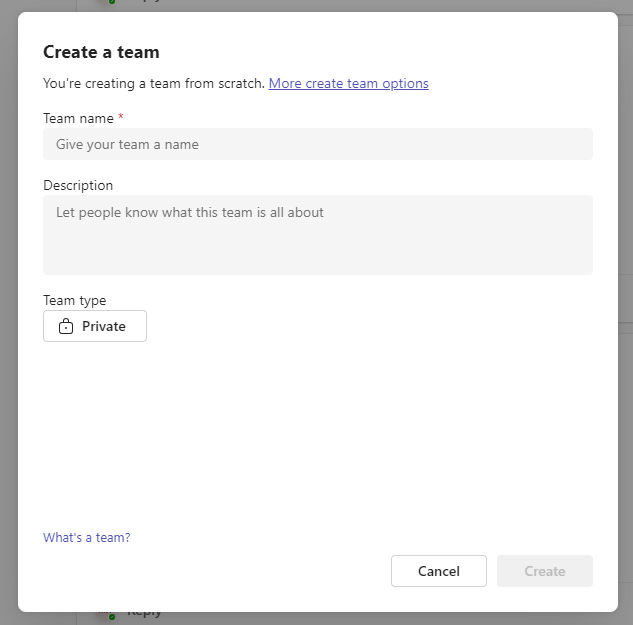
Enter a name for the Team and click Create.
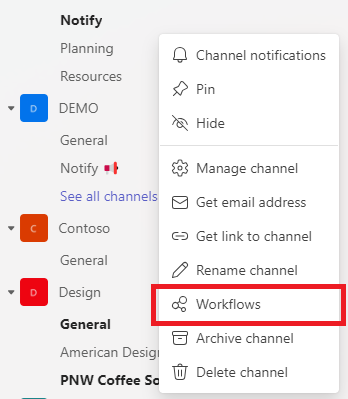
Step 2: Open Workflows for the Channel
Hover over the channel that should receive Innomesh notifications, click the ellipsis (…), and select Workflows.
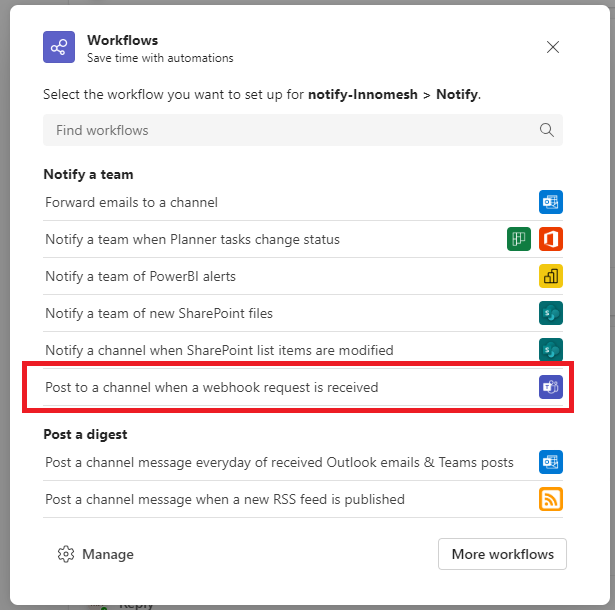
Step 3: Select the Webhook Workflow
The Workflows management panel will open. Select Post to a channel when a webhook request is received.
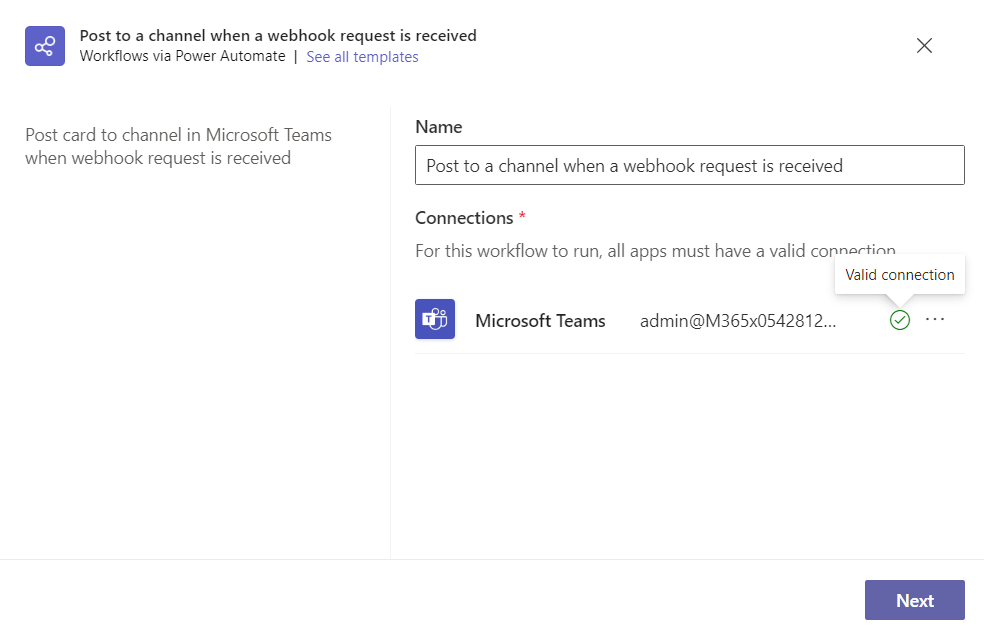
Step 4: Confirm the Connection
Teams will validate the connection. Once Valid connection is shown next to the Microsoft Teams entry, click Next.
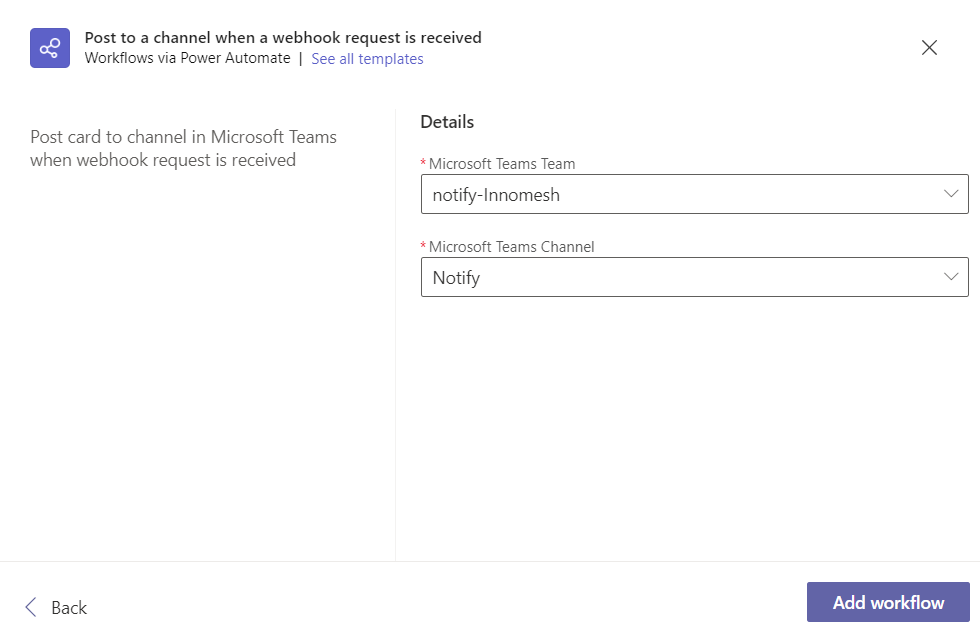
Step 5: Verify Team and Channel
The Microsoft Teams Team and Channel fields will be pre-populated. Verify they are correct, then click Add Workflow.
Step 6: Copy the Webhook URL
Once the workflow is created, a webhook URL is displayed. Copy this URL and provide it to Innomate or UXT support to complete the integration.
Multiple Channels
More than one channel can be configured to serve different purposes. For example, one channel can be set up for all notifications (which may be noisy and can be muted), and a secondary channel for high and critical notifications only. To add additional channels, repeat Steps 1–6 for each channel required.
What Happens Next
After the webhook URL has been provided to Innomate, the integration is configured on the Innomesh backend. Once enabled, alert notifications from Innomesh will appear as messages in the designated Teams channel. Notifications include alert severity, room name, device details, and a direct link to the affected room in the Innomesh Portal.