This guide walks through the process of creating a room, populating its information fields, and assigning an information template so that data flows through to the Portal’s Information page.
The Information Tab
When creating or modifying a room, the Information tab displays all fields that correspond to the Portal’s Information page. Fields are automatically populated based on the information template associated with the room’s deployment template. Fields marked with a red asterisk (*) are mandatory and cannot be deleted or disabled.
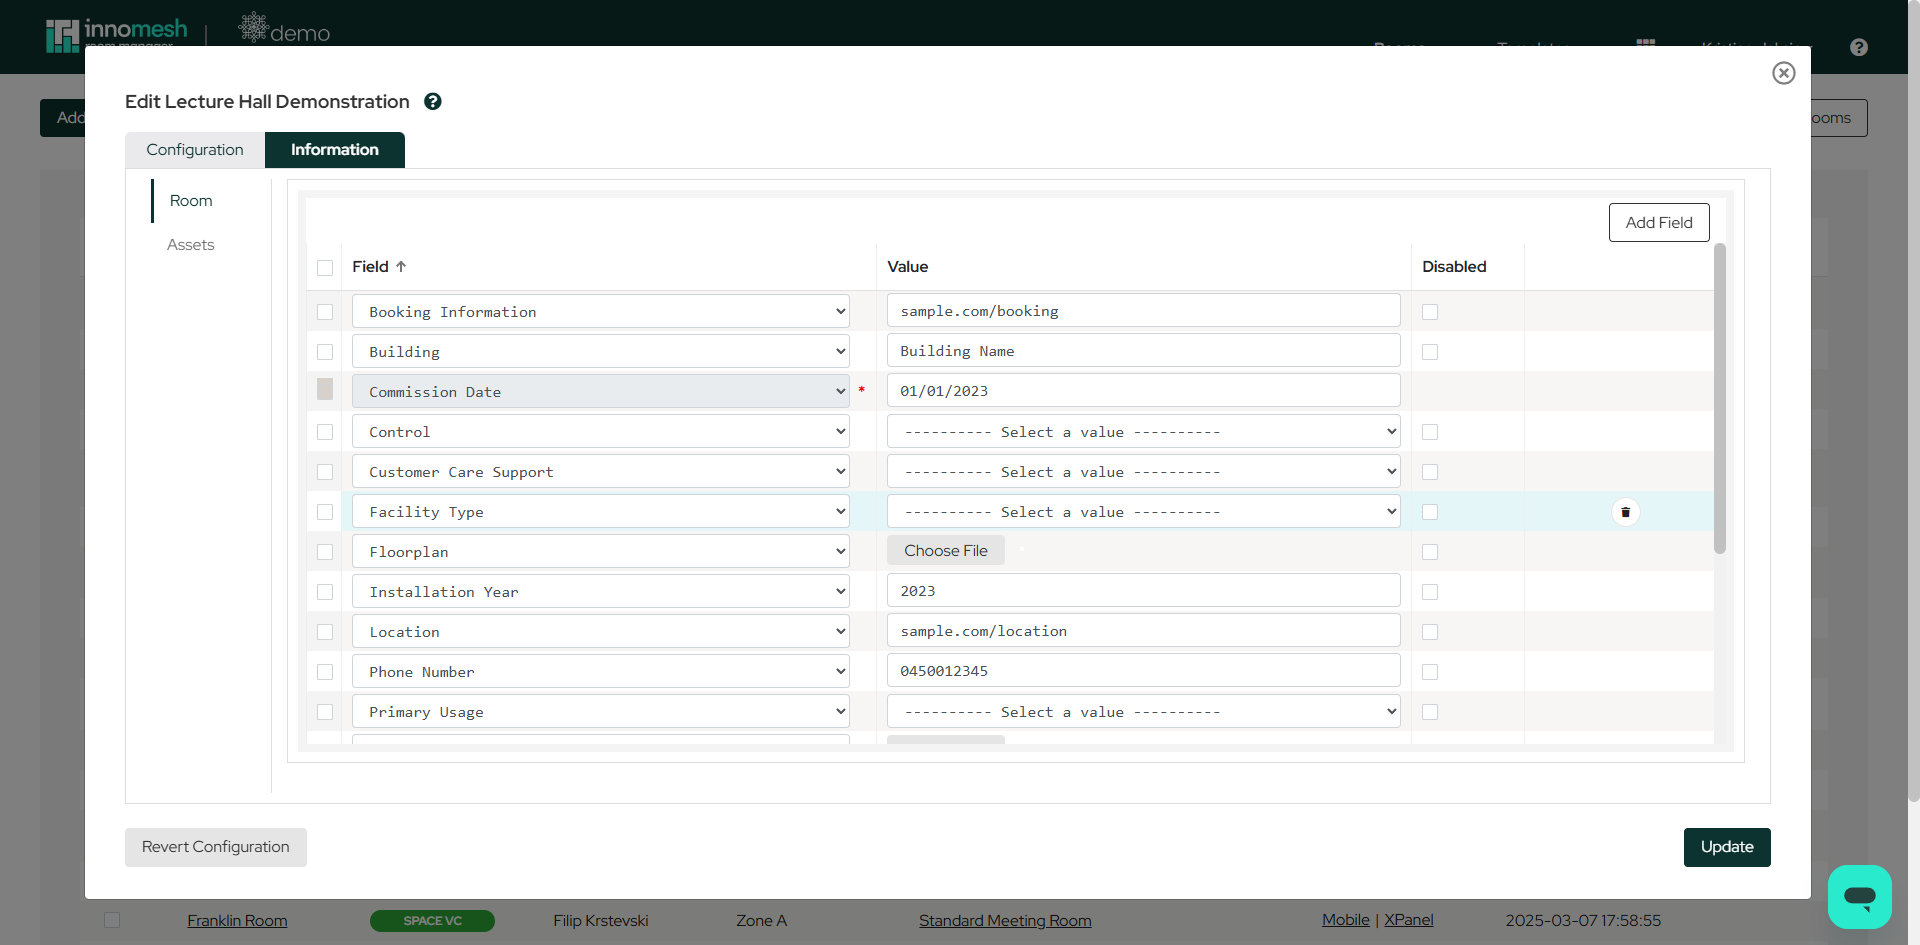
Field values may be:
- File uploads (images, schematics, documents)
- Dropdown selections (enumerations configured in the AV Service Portal or Room Manager)
- Free text or numeric values
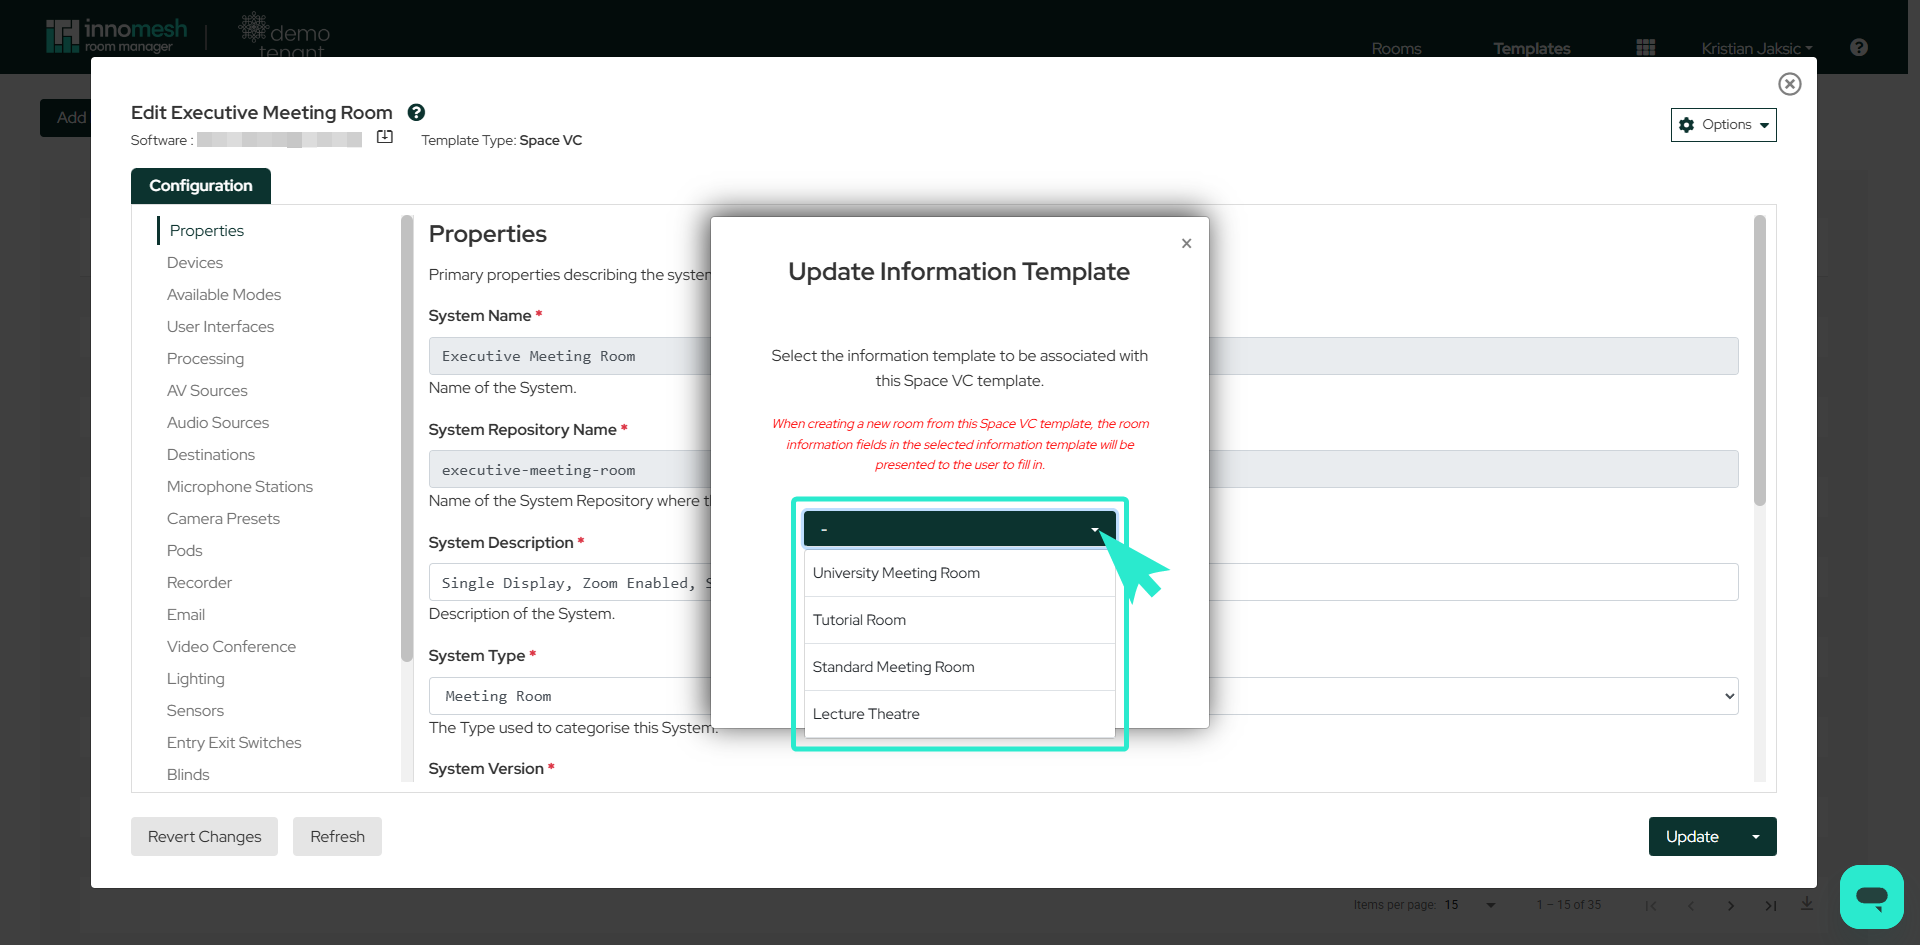
Assigning an Information Template
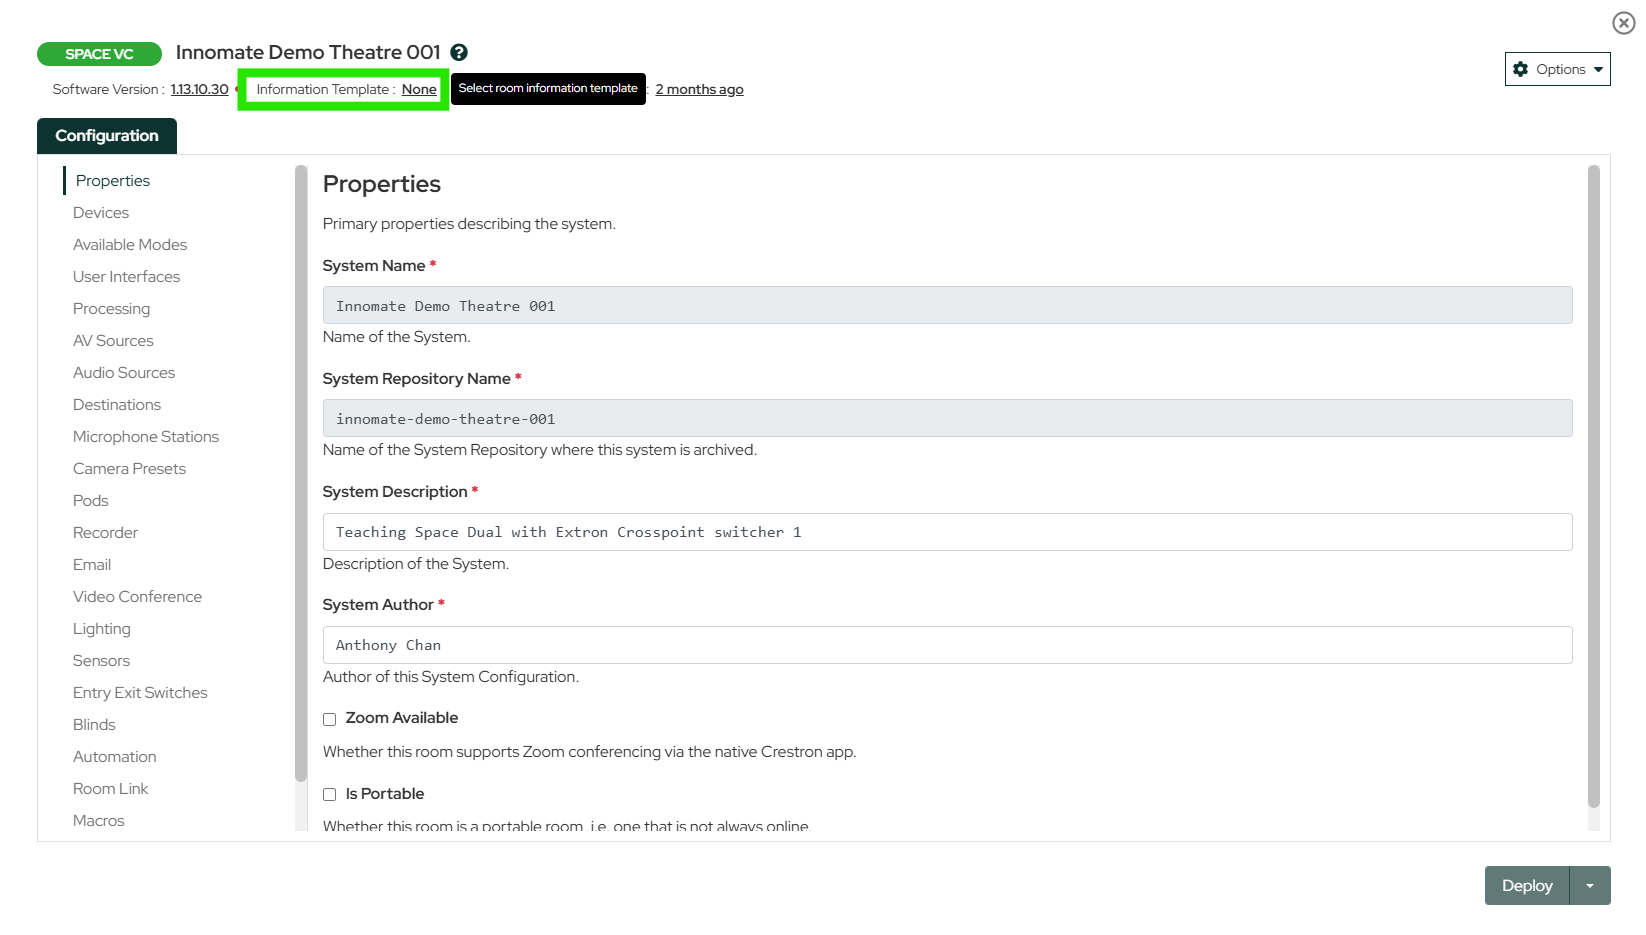
If no information template is linked to the room’s deployment template, you will see a prompt to select one from the available list. Templates ensure that newly created rooms inherit the appropriate set of fields automatically.
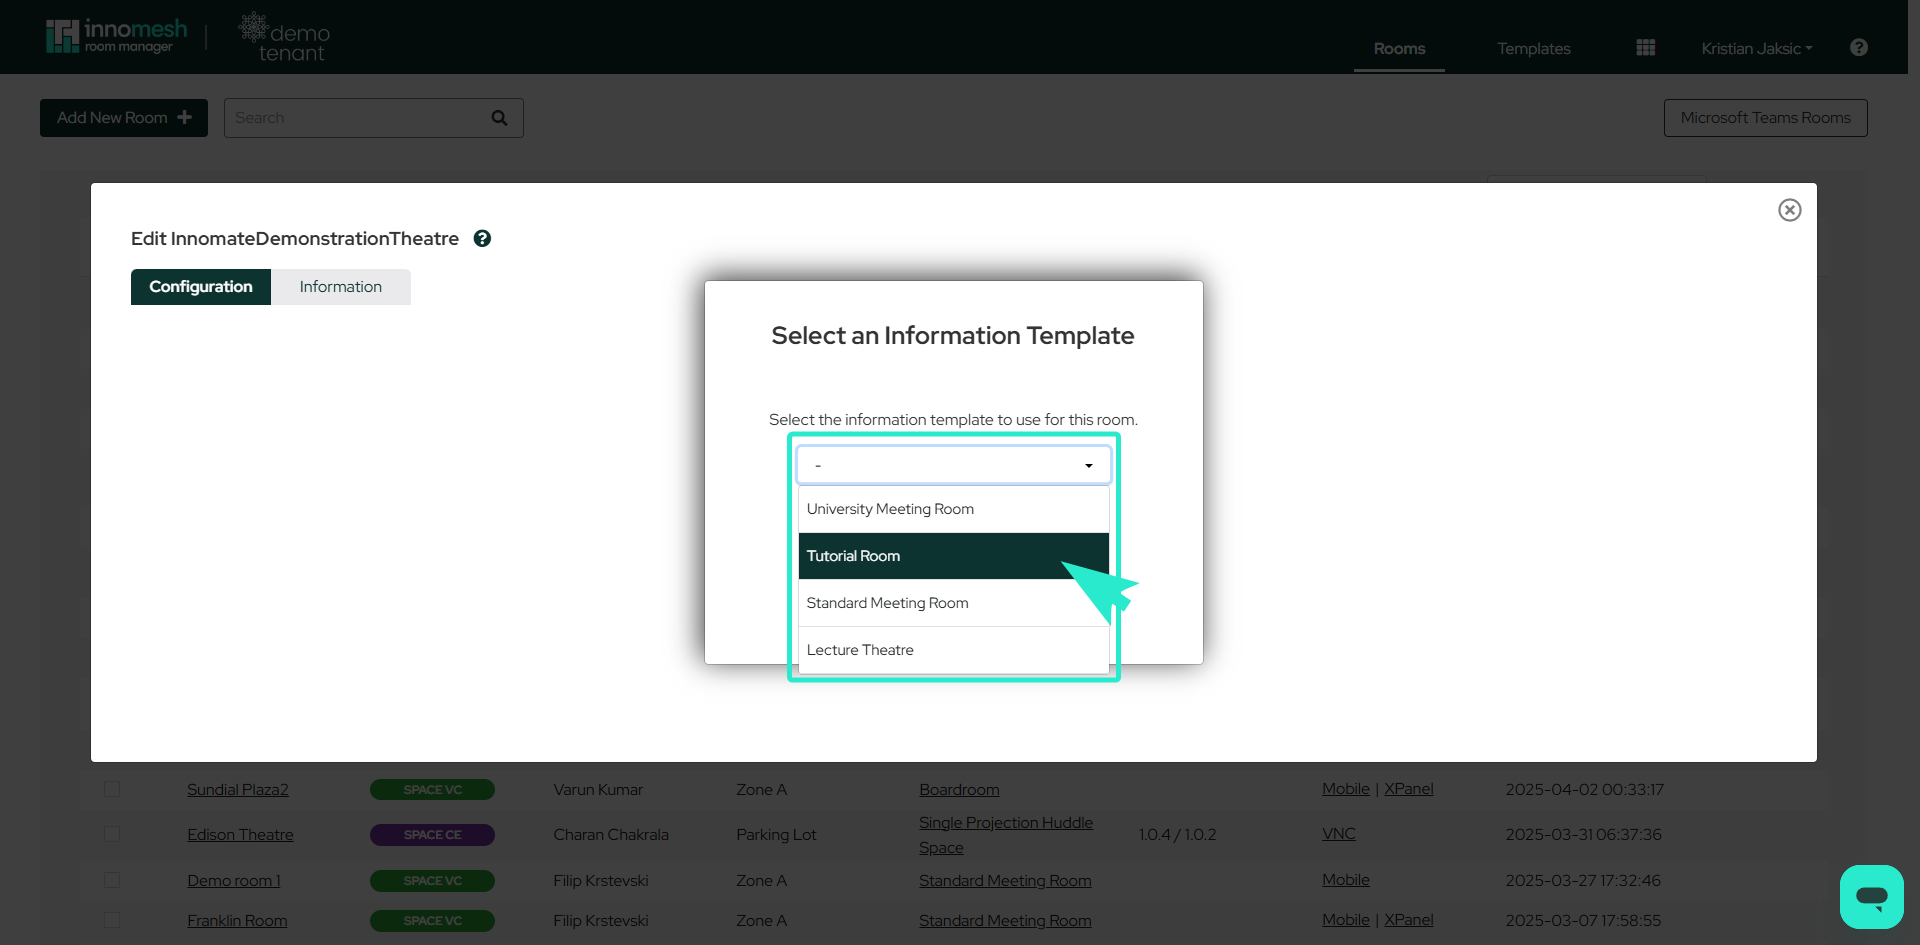
To permanently assign a template:
- Click the pencil icon next to any template.
![]()
- Select Update Information Template.
- Choose the desired template from the dropdown.
Once assigned, every new room created with that deployment template will inherit the information fields defined in the information template.
Populating Fields
Work through each field in the Information tab, entering values or uploading files as required:
- Images (JPG, PNG, GIF) appear in the Image Gallery tab on the Portal.
- Schematics (PDF, JPG, PNG) appear in the Schematics tab.
- Timetable and schedule links populate the Timetable tab.
- Floorplan links populate the Floorplan tab.
- Location links populate the Location tab.
- Video files (MP4, WebM, Ogg) or links populate the Video Guide tab.
- 360-degree photos (JPG, PNG) populate the 360 View tab.
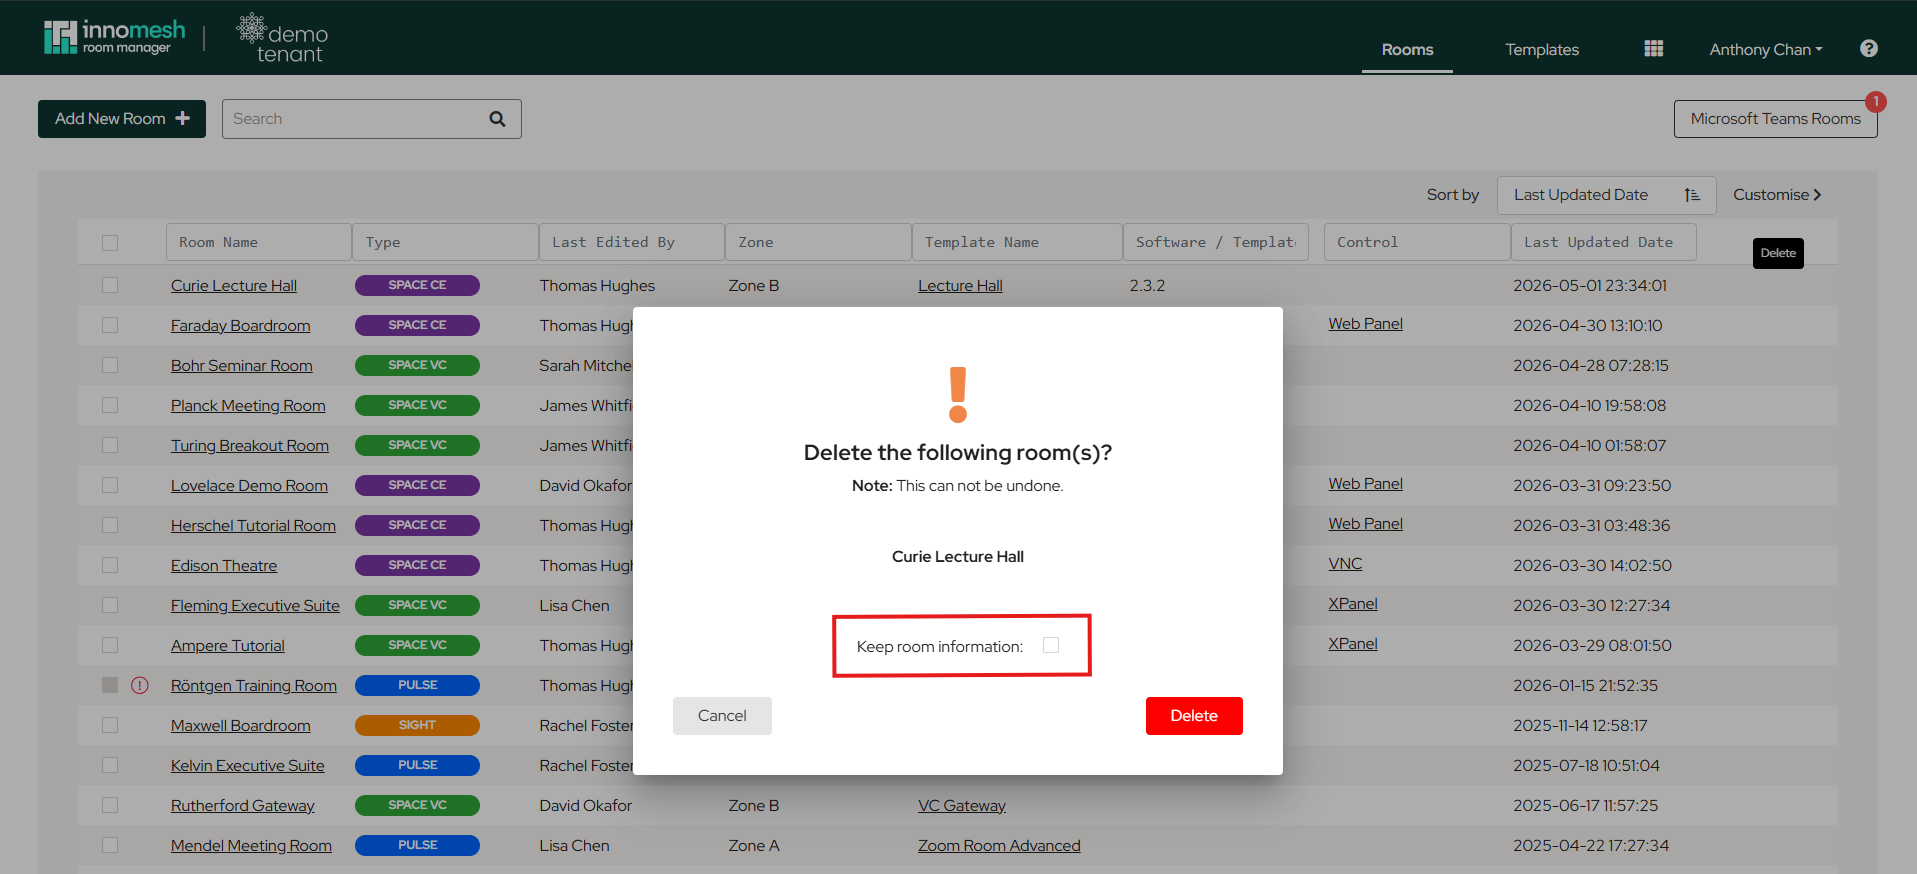
Deleting a Room
When deleting a room, a confirmation dialog is shown with a Keep room information checkbox.
- Unchecked (default): room information is permanently deleted along with the room.
- Checked: room information is retained and will be automatically reassociated if a new Space, Sight, or Pulse room is later created with the same room ID and room name.